Red pen. Marks everywhere. Notes about what is wrong—weak here; needs more description; not real sentences in this paragraph; watch your subject-verb disagreement; could be stronger; re-write this paragraph.
OR
A note at the bottom of the paper: Fine work.
Aghh…..
Neither option is much help to students.
This is why I take the editing of all sixty of my language arts and writing students’ (in person, local ones) papers very seriously.
(This is also why I have been known to use a purple pen for their edits–much cheerier than the “blood red” ink you hear students describe!)
As a matter of fact, I take the editing of student papers so seriously that I have a detailed protocol for how it is done.
First, the reasons for this (or you can scroll down to the videos and watch my editing assistant in action right now!):
1) Editing should be a feedback scenario. Students should LEARN from the edits on their paper. Period. The negative remarks with the red pen from above or the “fine work” approach doesn’t teach the student anything.
2) Editing should be clear/consistent/standardized so that students can input those changes in their paper. This is why we use proofreaders’ marks and consistent coding (i.e. little cc means coordinating conjunction; CS means complete sentence).
3) Editing should show grammar/usage issues as well as content suggestions.
4) Editing should be on rough draft (or Checklist Challenge copy), not on finals!
5) Editing should be given for the student to put into paper for the next version. I don’t recommend that we edit a paper deeply that a student is not going to do anything else with. It can be discouraging t the student–and there’s no goal for a final or more “perfect” version.
6) Editing should include skills and usage items that the student is currently working on. If we have a dialogue assignment in which a student has to use quotation marks to show speakers, those errors will be more fully indicated on the edits so the student can learn from them. (I use a Teach-Practice-Apply method in all of my teaching–their writing is one of the Apply steps!)
7) Editing should include positive remarks as well. I teach my editors to include things like “amazing compound sentence” or “incredible use of a split quote” or “super thesis statement” or “argument is well done”!
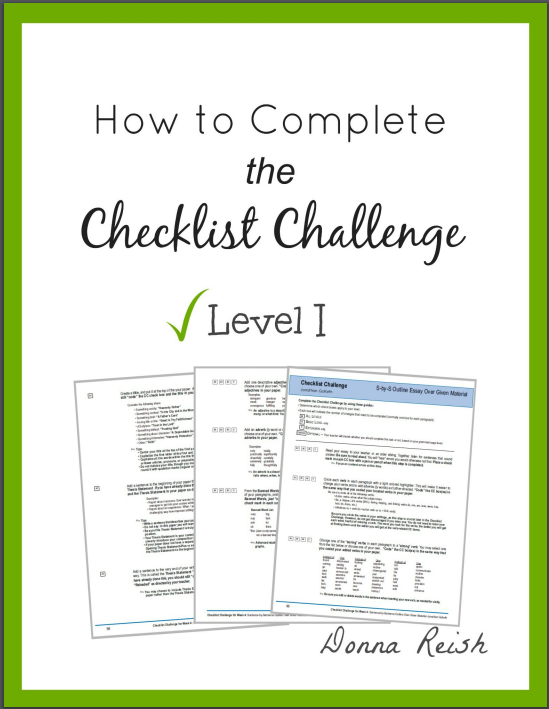
Checklist Challenge
So here is a little sneak peak into our process here at Character Ink Cottage Classes, online classes, and Learn for a Month:
1) Everybody gets a Proofreaders’ Mark document on the first day of classes. (You can get yours here!) We review these and point them out in their papers as their edits come back from the editor.
2) I hire one or two editors each semester who are incredibly skilled at editing. (Watch Zac work in the videos!) I want them to be so good at this that they can at least catch 75% of what I am able to find. (I hire from within–meaning, I have students in classes who are fully trained in writing–then later, while they are in college, they edit for me!)
3) Nearly every paper goes through the Checklist Challenge (CC)–-a challenging checklist of editing/revising tasks that help the student apply all of the grammar they have learned. (Grammar is for speaking and writing!) This CC includes any grammar and usage skills they are learning that week in grammar. Win-win! (Get your free booklet and video, “How to Complete the CC”–you can use it with any writing program!)
4) Once the student does the CC to a paper, the editor has a cross checking task list to find all of the students CC additions and score those for a CC grade.
5) Then the editor/grader edits the students’ papers (right on the CC/colorful version). (The video shows Zac editing on non-CC papers so the paper is cleaner for viewers.)
5) The student gets a CC score AND a Rough Draft score for each paper. The CC score is based on the number of revision tasks the student fully did and marked/coded. The rough draft score is based on content, usage, errors, following assignment (i.e. number of sentences and paragraphs/opening and closing paragraphs, etc..
6) I look over the editor’s edits and make my suggestions on the paper as well.
7) The student gets the paper back in class and has the opportunity to ask questions right away before they go home and try to input the edits for their final copy.
8) If there was something we had in grammar that week that students consistently missed in their rough draft, I do a mini lesson on that topic right away on the white board and have them look in their papers for that error to see if they made it. (I often do this when we just had sentence combining, conciseness techniques, quotation use, parenthetical phrases, etc., that were assigned in the CC but were done incorrectly.)
Note: This is primarily for 6th-12th grade students. A more simplified approach is used for elementary students’ papers.
It sounds like a laborious process–and at first, it is. But it is soooo worth it when I get those text messages from students telling me they got super high ACT/SAT scores or that they got a scholarship based on an essay they wrote using the skills that they learned in my classes. Oh my heart!
Oh, here are three videos where Zac describes the edits he is making on papers as he makes them. Super helpful way to learn how to edit!